


News
Home
Recent News
Archived News
Site Map
Services
Porting
Rebuilds
Repair
EMS
Dyno
High Performance
Conversions
For Sale
Technical Info
Contact Us
Modifications
Help
PDF Manuals
Forum
Customer Cars
<- Back - Forward
->
(page 3)
3 Rotor RX-7 2nd Gen Turbo II Project
(Pictures of the 20B teardown.)
1/8/2005 - Below are pictures of the long block 20B 3 rotor being torn down and disassembled for a rebuild. We did not run into too many problems, except for the removal of the 3rd lobe on the crank (eccentric shaft). Special thanks goes to Tri Rotor for lending us a helping hand.
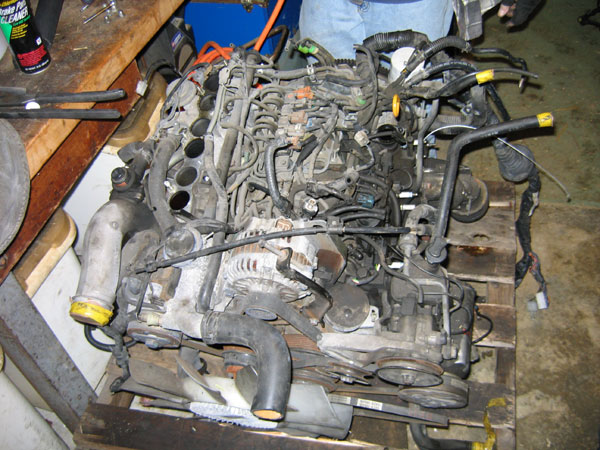
(Time to tear this 3 rotor down!)
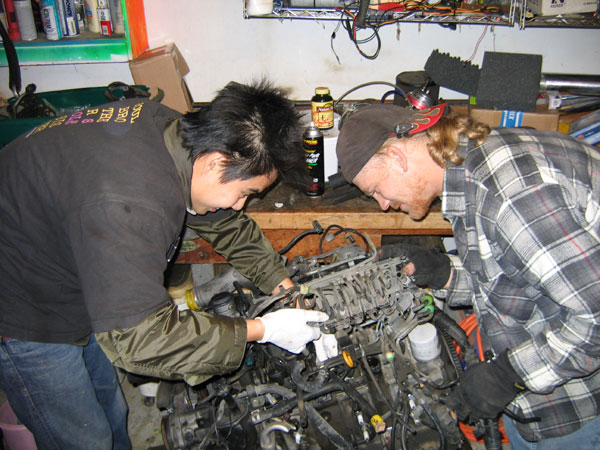
(Tri Rotor and Dave beat me to it. I guess I'll take
pictures.)
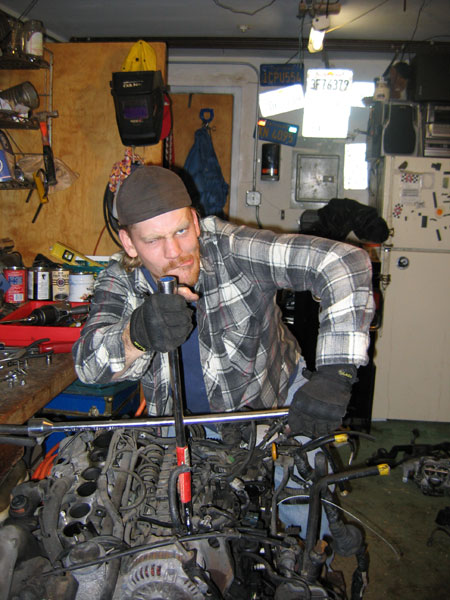
(Arrrrrrgh! Aye tear down ye motor!)
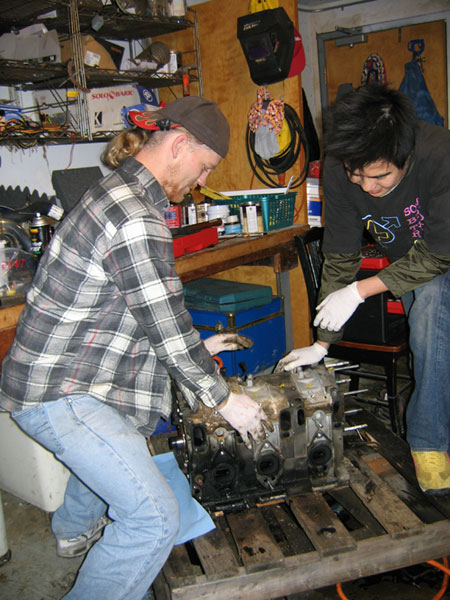
(Hey hey! Please don't hump my 3 rotor!)
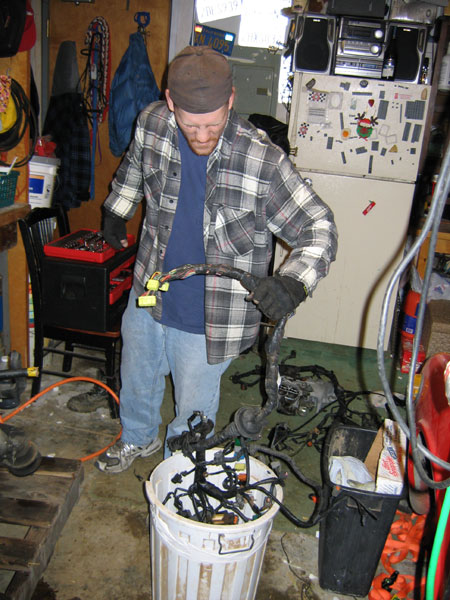
(Stock wiring harness goes in the trash!)

(I dub thee, "RATS NEST!")
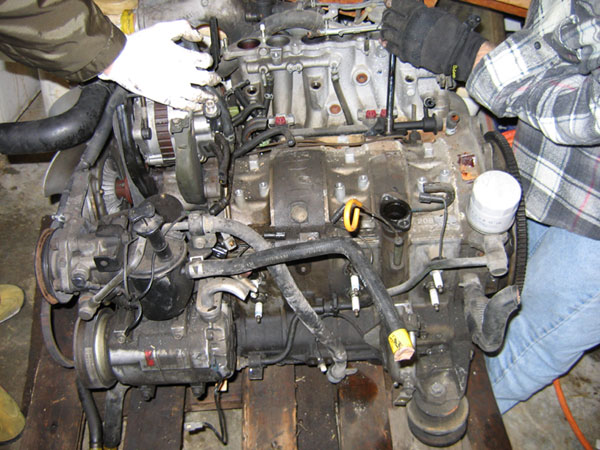
(Look at that big A/C compressor!)

(Check out the sequential turbos.)

(1, 2, 3, 4, 5.... 6 spark plugs!)
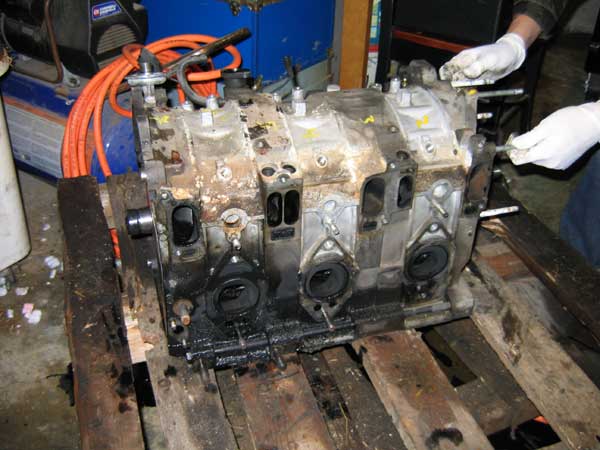
(Down to a short block.)
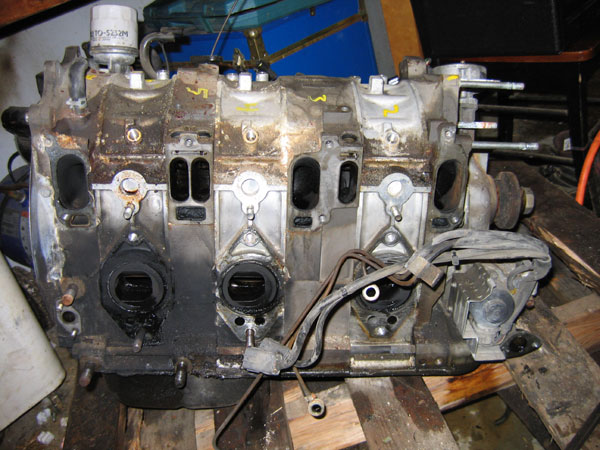
(Close up of intake ports and exhaust ports.)
("S" is for the short tension bolts to the
intermediate iron.)
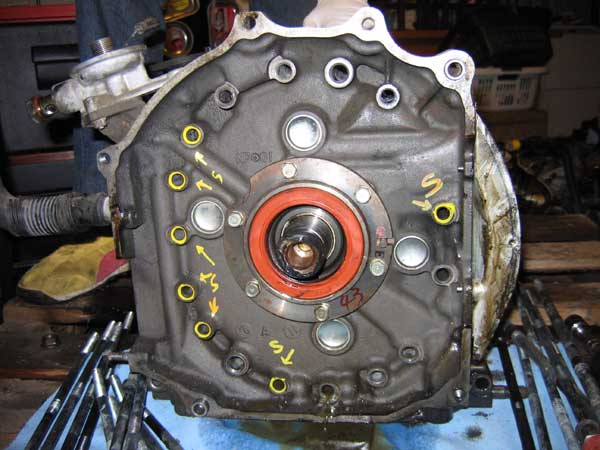
(Off comes the rear iron.)
(Rear rotor.)
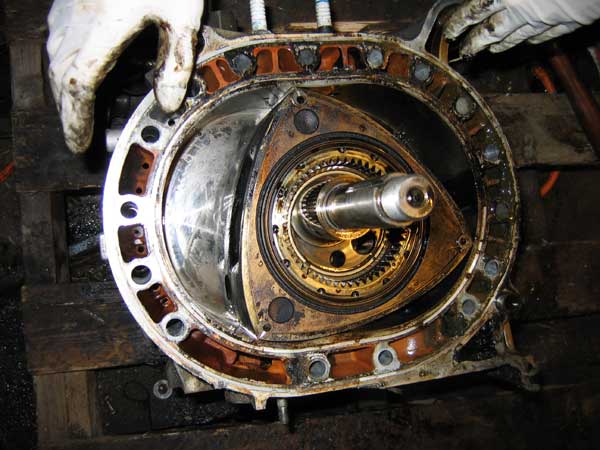
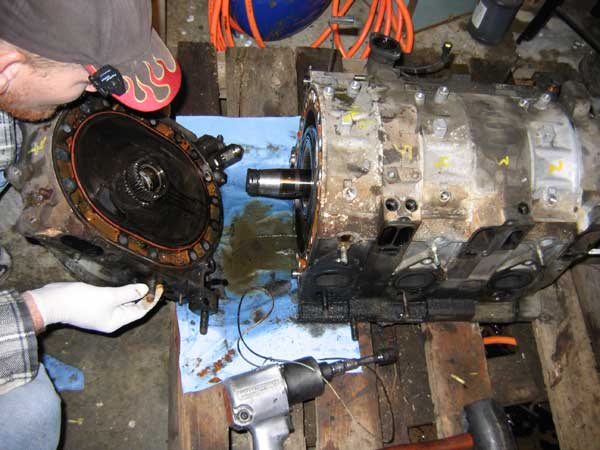
(A raw view of the rotor and housing with the crank.)
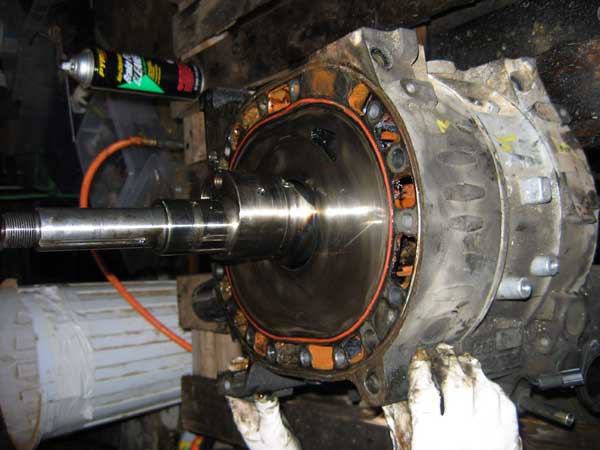
(Another good shot of the crank (eccentric shaft).)
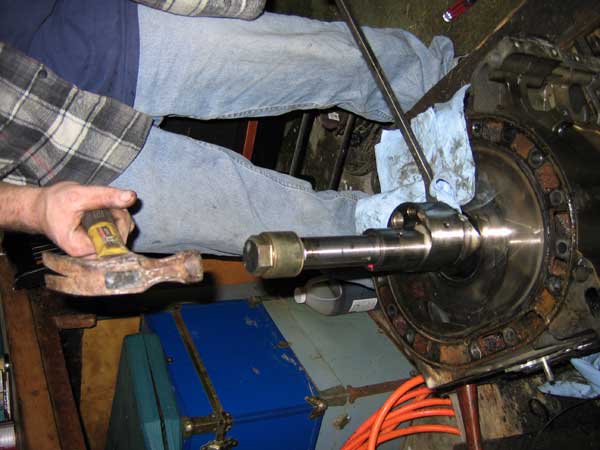
(A little pry on the lobe and a light tap and she busted
free.)
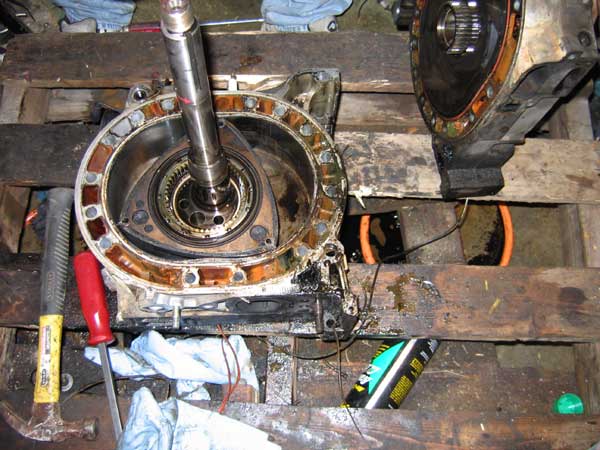
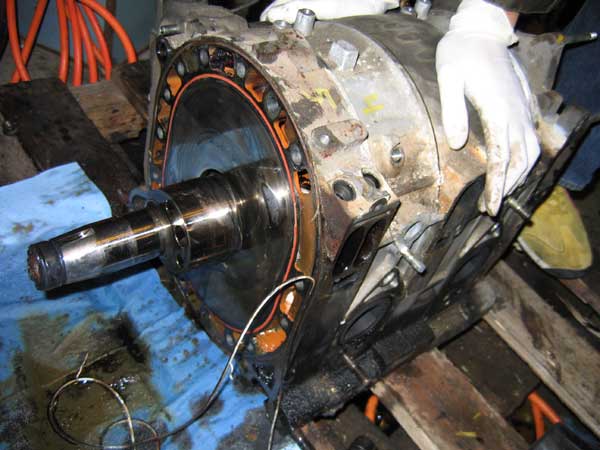
(Down to the front rotor and front housing.)
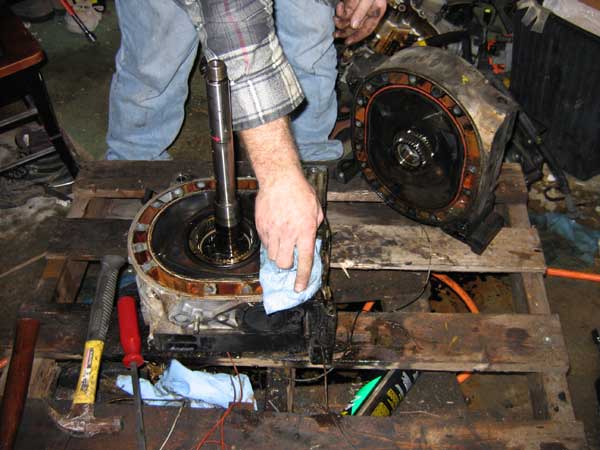
(I little love wipe.)
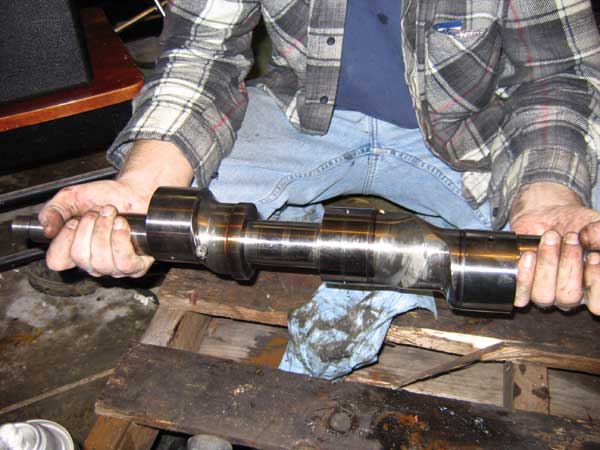
(The 3 rotor eccentric shaft AKA: Crank / E-Shaft.)
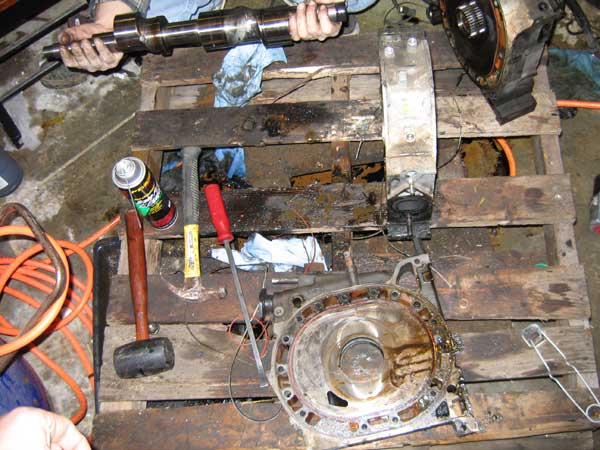
(All done! Time to clean the mess up! Hope you enjoyed it!)
<- Back - Forward
->
(page 3)
Powered by: Rotary Engines! aka: The Wankel
Maintained By